How to Display 3D Models with Colors and Textures in JebCAD
How to Display 3D Models with Colors and Textures in JebCAD
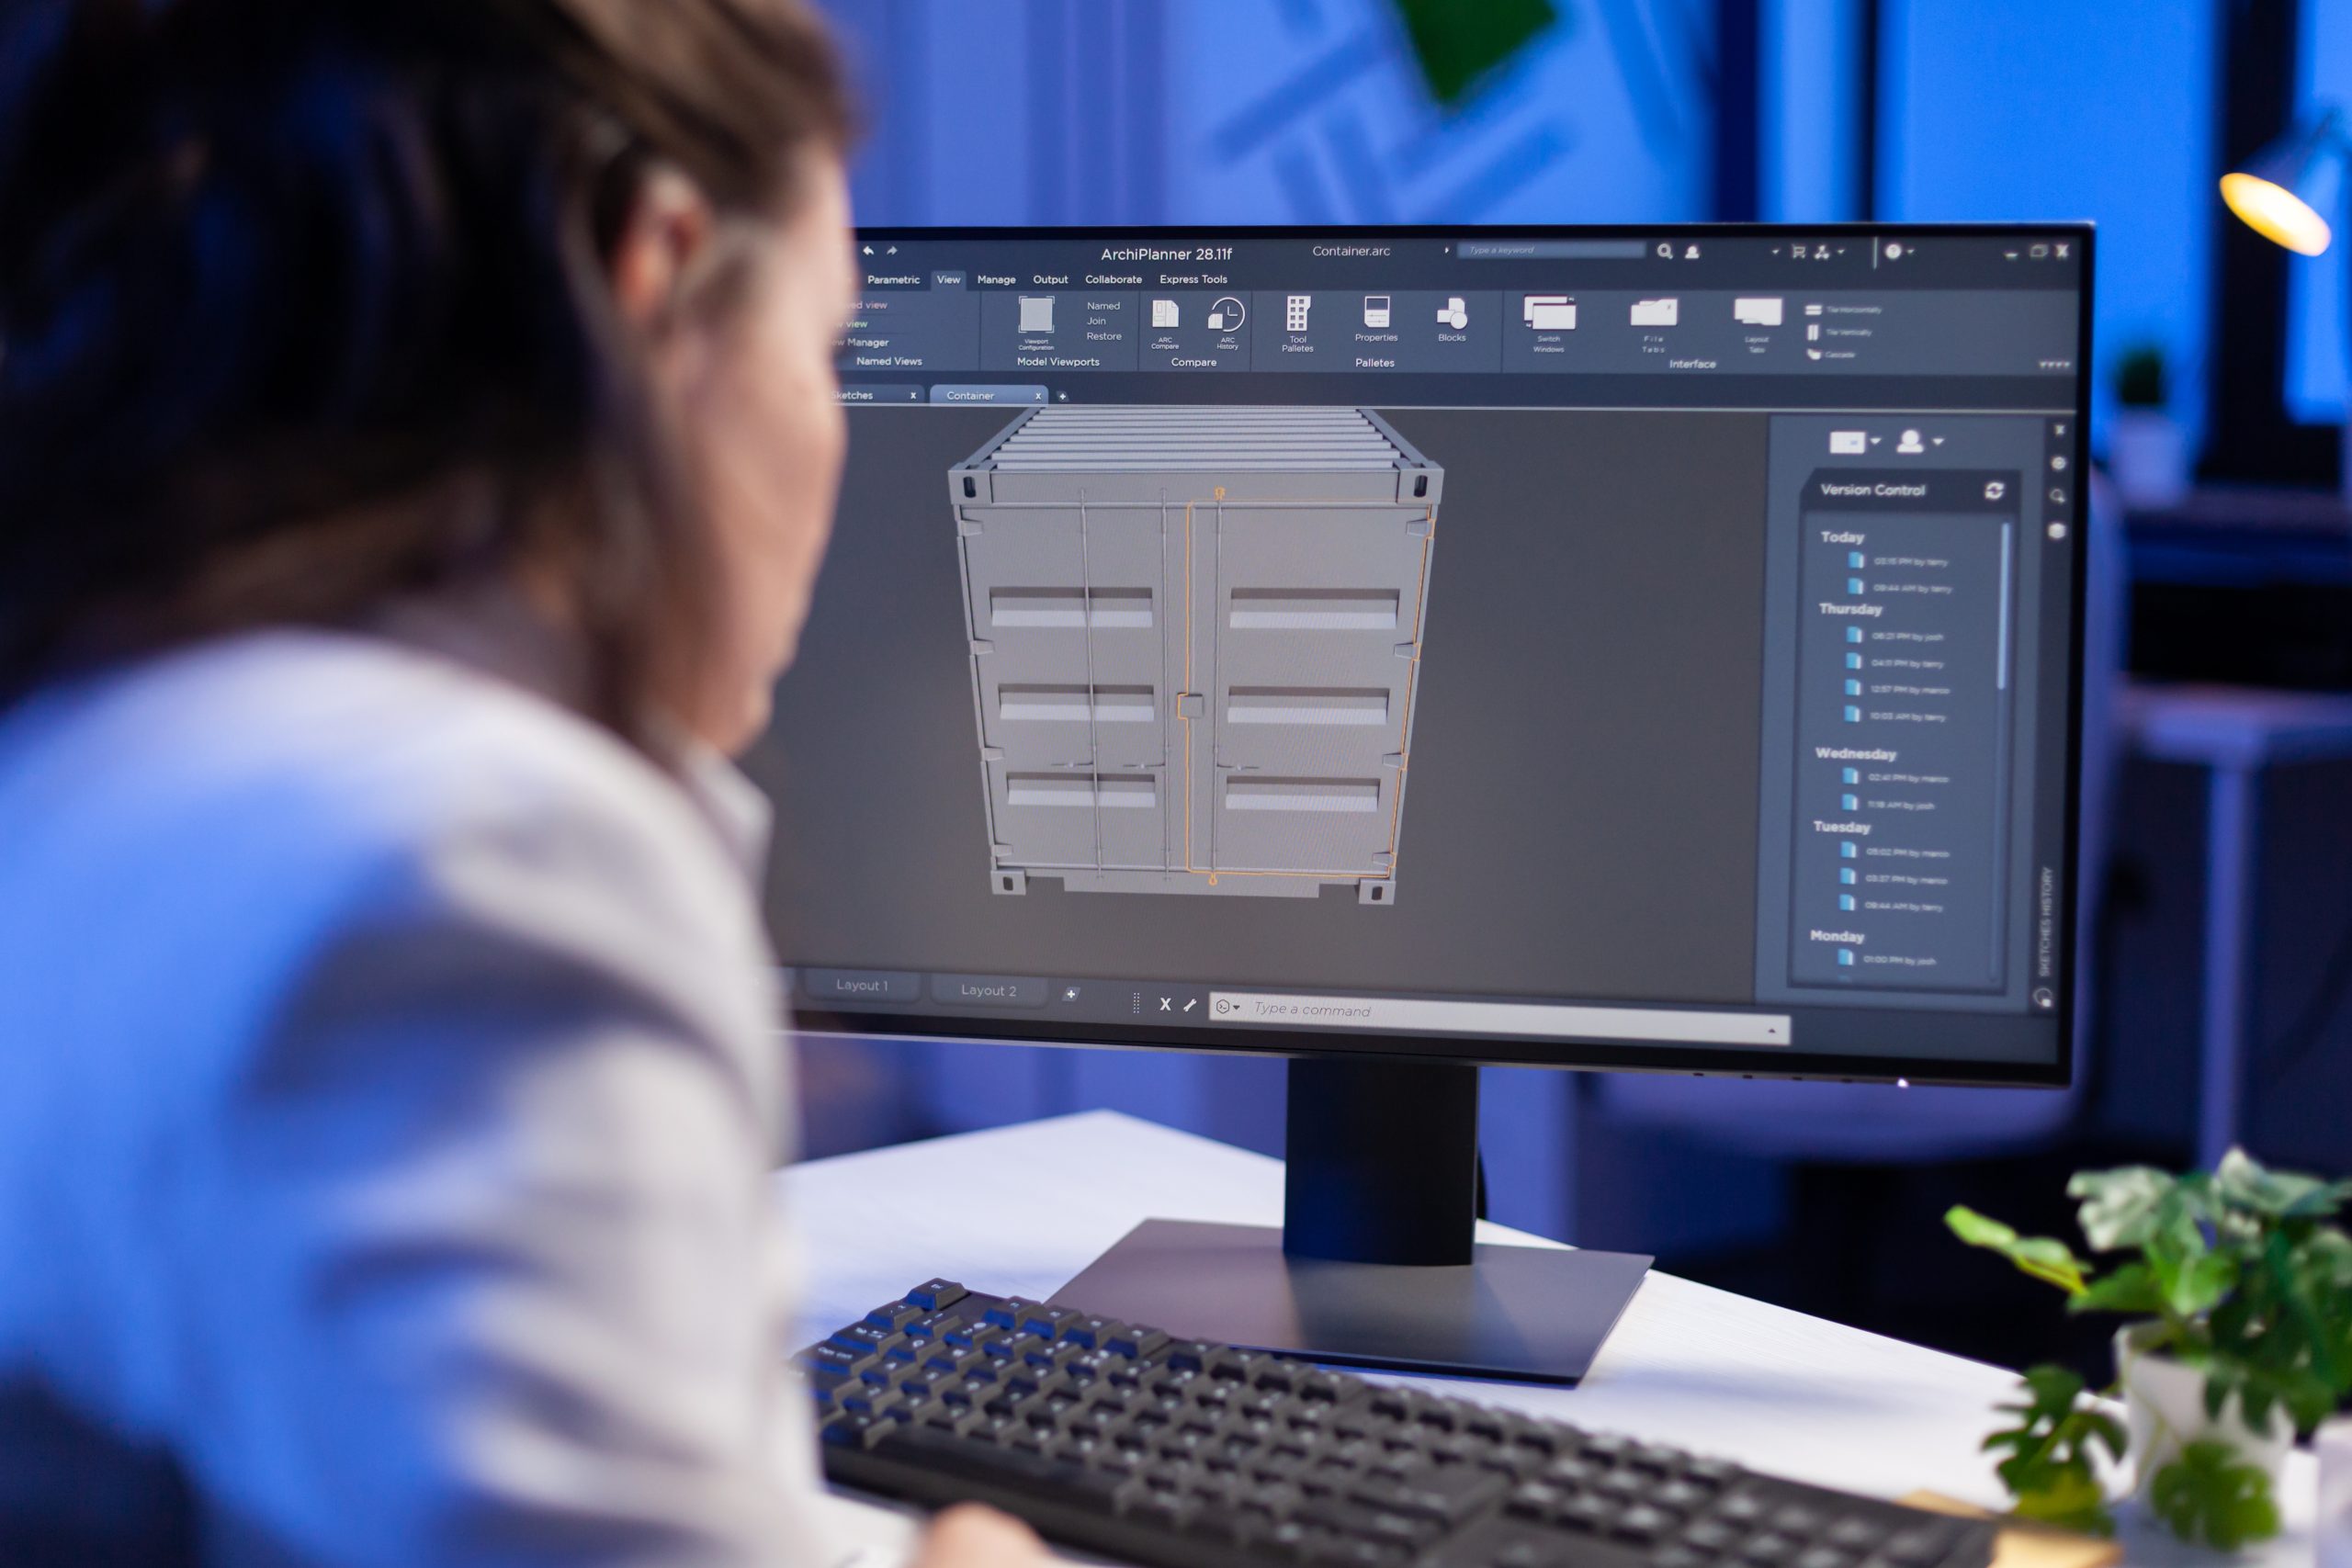
Sharing 3D models online is an essential part of modern engineering, design collaboration, and learning. JebCAD has become one of the most versatile platforms for this purpose, allowing engineers, students, and makers to showcase their designs. However, many users face a common challenge: when they upload a 3D model, it sometimes appears without colors or textures.
If you want your design to look as realistic as it does in your CAD software, here’s a complete guide on how to display 3D models with colors and textures in JebCAD.
Why Colors and Textures Matter in 3D Models
A plain gray model can show geometry, but it doesn’t communicate the full design intent. Colors and textures:
-
Highlight different materials (e.g., steel, plastic, wood).
-
Make assemblies easier to read by differentiating parts.
-
Improve presentation quality for clients or recruiters.
-
Showcase realism for render-ready or portfolio models.
That’s why preparing your files properly before uploading to JebCAD is so important.
Best File Formats for JebCAD Colors and Textures
1. Native CAD Files
If you’re working in SolidWorks, Inventor, Creo, or CATIA, uploading the native part or assembly files is the easiest way to preserve your color schemes. JebCAD’s viewer recognizes these formats and will usually keep the material information.
2. STEP and IGES
-
STEP (.step/.stp): Keeps geometry and basic color information but not advanced textures.
-
IGES (.igs/.iges): Similar to STEP, works for geometry + colors but lacks texture support.
3. STL
-
STL (.stl): Used mostly for 3D printing; it contains only geometry, with no color or texture.
-
If you need colored meshes, avoid STL unless your workflow specifically requires it.
4. OBJ with MTL and Textures
-
OBJ (.obj): Supports both colors and textures, making it ideal for realistic models.
-
Always include the .MTL file (which maps materials) and any linked texture images (.jpg, .png).
-
Place all files in a single ZIP folder before uploading to JebCAD so the viewer can read them correctly.
5. VRML (WRL)
-
VRML (.wrl): Another option for models with textures, commonly used for color 3D printing.
-
Like OBJ, you’ll need to include linked texture files in the upload package.
Uploading Assemblies with Colors and Textures
When working with assemblies:
-
Export all related part files + textures.
-
Keep everything in one structured folder.
-
Compress it into a ZIP before uploading to JebCAD.
This ensures references aren’t lost and the assembly displays correctly in the JebCAD viewer.
JebCAD Workbench vs. JebCAD Library
-
JebCAD Workbench: Designed for team collaboration and engineering projects. It handles assemblies better and often maintains more CAD detail.
-
JebCAD Community Library: Perfect for sharing designs publicly. The viewer supports most popular formats but may simplify heavy textures for online performance.
Quick Checklist Before Uploading to JebCAD
✔️ Use native CAD formats for colors.
✔️ Use OBJ + MTL + textures or VRML for detailed materials.
✔️ Keep everything in one ZIP file (especially for assemblies).
✔️ Test your export locally before uploading.
To Sum Up..
Displaying your 3D models with accurate colors and textures in JebCAD not only makes them look better but also improves how others understand your work. Whether you are a professional engineer, a student, or a hobbyist, preparing your files in the right format—especially OBJ with textures or native CAD files—ensures your designs shine in the JebCAD community.
If your goal is to present models realistically for collaboration, recruitment, or portfolio purposes, always double-check your export settings and bundle your files correctly.
With these steps, you’ll make sure your designs are not just technically correct, but also visually impressive.
See the examples on Products